

I began by prepping all my chipboard pieces. For the Petal Corners Mini, I heat embossed 2 of them with Hammered Metal embossing powder. Using my finger I added some Cracked Pistachio Distress Oxide to give it an aged look. I wanted some more age and texture so added some Cracked Pistachio Distress Crayon. I left some chunky bits of crayon on the Corners.
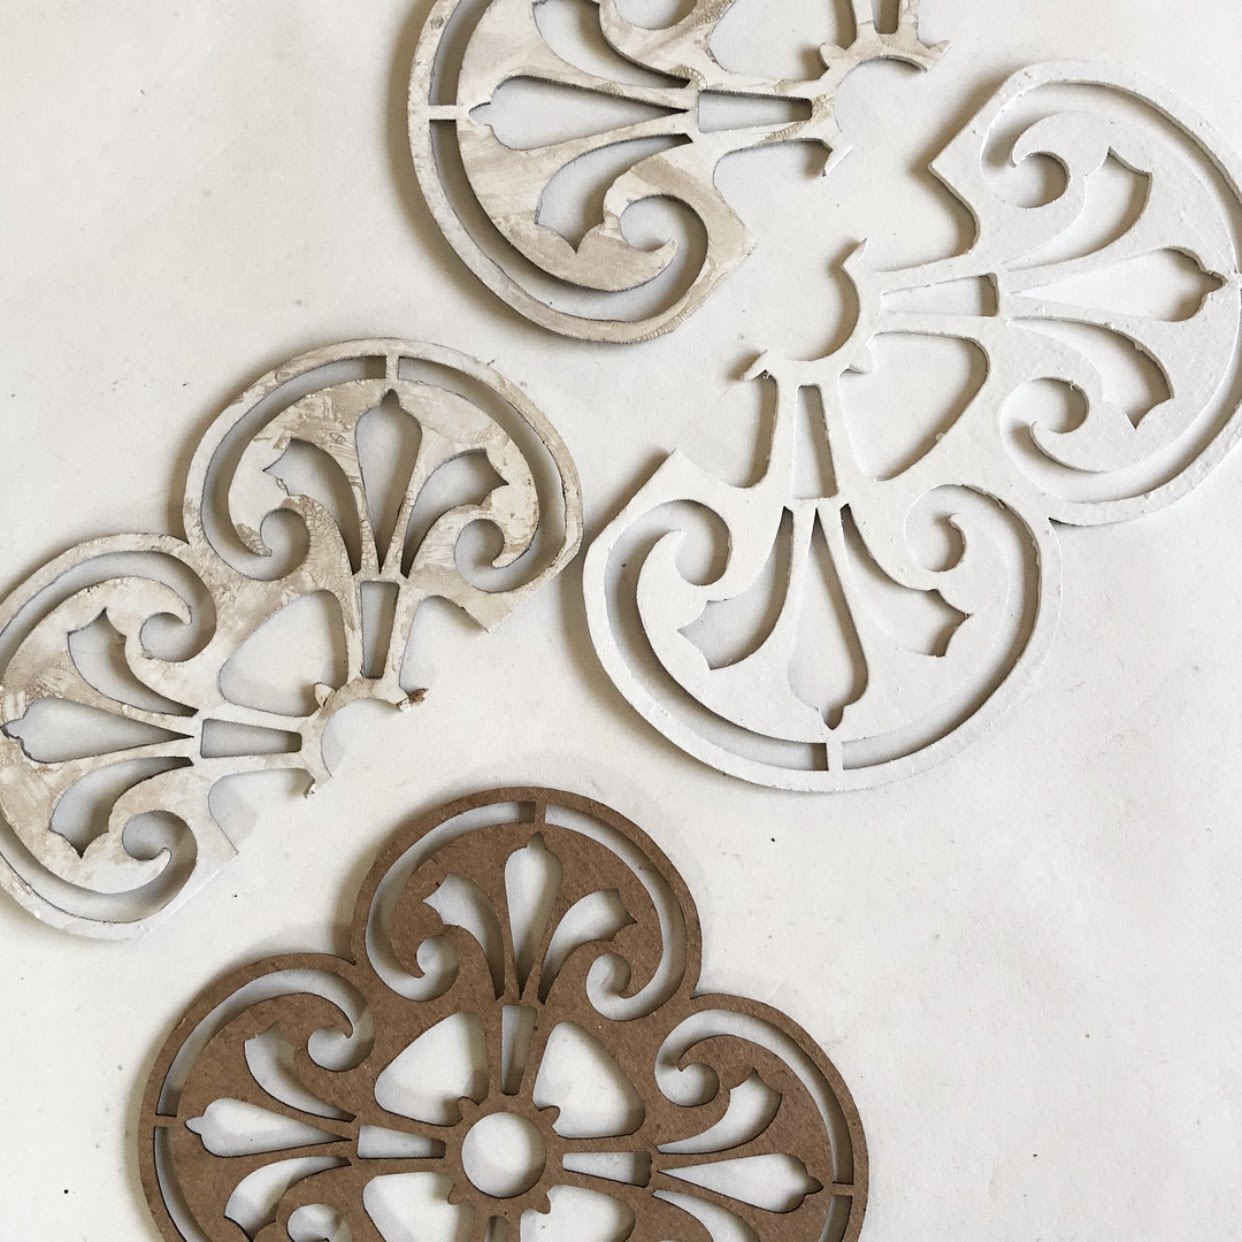
I cut the Tudor Rose Singles in half and then sprayed two coats of white spray paint on all the pieces. Once the paint was dry I randomly applied some Distress Crazing Medium with my finger. Once the crazing medium was dry I added some detail with Vintage Photo Distress Ink.

For my base I used a medium Tim Holtz Etcetera Tag. I cut my background paper to size and stitched around the edge with gold thread. I then applied the background paper to the tag using Distress Collage Medium.

I then added a bit of detail to the top right and bottom left corners of the tag using a palette knife to spread gesso thru the Tim Holtz Layering Stencil- Floral.

To begin my layers I started with a Tim Holtz Pocket Card. I added a small piece of ephemera and a stamped spool image from the Haberdashery stamp set. On top of this I added the Tudor Rose Singles. I used one half of the largest cutout and one half of the medium size cut out. I adhered them to the top left and bottom right of the tag using Distress Collage Medium.

I then built up the main layer by layering this awesome photo of two vintage girls from Tim Holtz's new pack of Found Relatives on a piece of background paper from the Memorandum Paper Stash. Using a paper distress to distress the edges of the background paper and Vintage Photo Distress Ink for detail. I layered the photo and a ticket from an ephemera pack and stitched them together with my sewing machine. I then adhered the Petal Corners Mini using Distress Collage Medium.

To finish I adhered the photo layer to the tag using foam dots. To finish off the tag reinforcer I used two pieces of floral Design Tape from the Rose set and adhered to the tag using Distress Collage Medium.

The final touch added was this quote from a movie both Jess and I enjoy. Bonus points if you can name that movie!!

I love the texture and chunkiness the Tudor Rose Singles add to this piece. And the added vintage detail from the Petal Corners Mini complete the photo. The best part is that I still have enough left from both sets to make another project down the road.
Thanks so much for stopping by and spending a few minutes with me today. Happy Creating ~ Jennalee


